Black Balustrade Wire Kits | Flat Mount
Blackened Stainless Steel DIY Wire Balustrade Kits
Self Assembly Individual Black Balustrade Wire Kits, Flat Mount
New 'On-trend' black balustrade wire and fixings kit using our ingenious ball and socket design, all components produced from 316 marine grade stainless steel and chemically blackened to achieve a sleek and modern finish.
Priced as individual wire assemblies.
Each kit will make one single wire only; and are not designed to make multiple lengths out of one kit.
Designed and manufactured here in the UK.


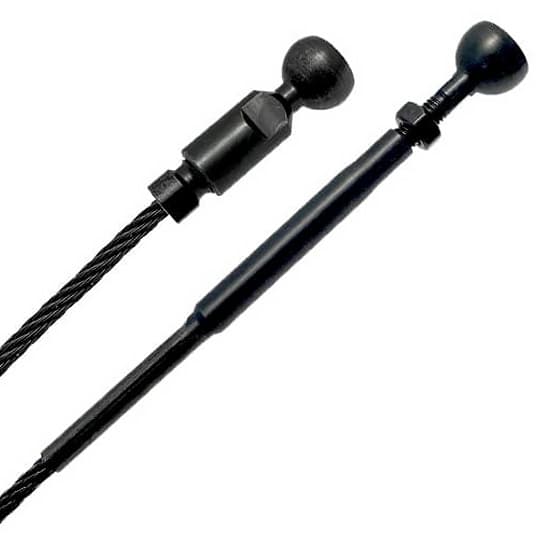
Bare Cable End and |
Tension Fitting |
Black Balustrade Wire Kit - Flat Surface Mount
| Options | Wire Ø (mm) |
Wire Length (metre) |
Surface Mount Sockets | Wood Thread Screws | Tension Fitting | DIY End Fitting | Code | Price (inc VAT) | Quantity |
|---|---|---|---|---|---|---|---|---|---|
| 1 Metre Kit | 4 | 1 | 2 | 2 | 1 | 1 | B4-CL-04-1-A-BLK | £46.80 | |
| 2 Metre Kit | 4 | 2 | 2 | 2 | 1 | 1 | B4-CL-04-2-A-BLK | £48.00 | |
| 3 Metre Kit | 4 | 3 | 2 | 2 | 1 | 1 | B4-CL-04-3-A-BLK | £49.20 | |
| 5 Metre Kit | 4 | 5 | 2 | 2 | 1 | 1 | B4-CL-04-5-A-BLK | £52.80 | |
| 7.5 Metre Kit | 4 | 7.5 | 2 | 2 | 1 | 1 | B4-CL-04-7-A-BLK | £55.50 |
Tip: To view the product code and full product table on mobile please tilt your device to landscape.
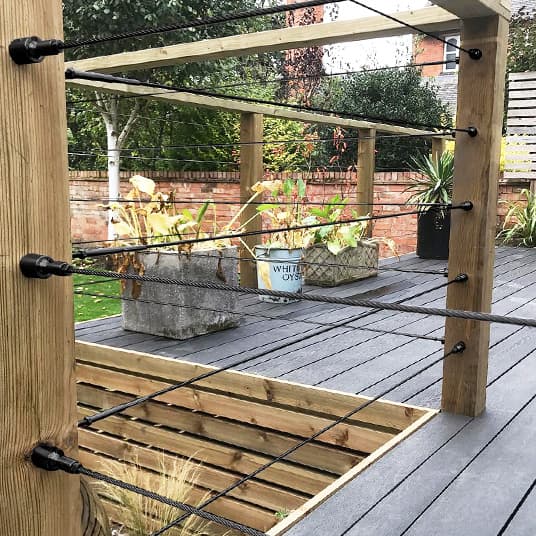
Black balustrade wire is popular in modern and contemporary architecture by designers and architects who prefer a sleek, minimalist and industrial aesthetic for their projects.
Often used in outdoor spaces such as balconies, terraces, and decking areas, as well as indoor spaces such as staircases and mezzanines. Our wire balustrade is suitable for both outdoor and indoor applications, as it can withstand harsh weather conditions.
Chemically blackened finish refers to the process of applying a chemical coating to the stainless steel that reacts with the metal surface to create a luxurious black surface.
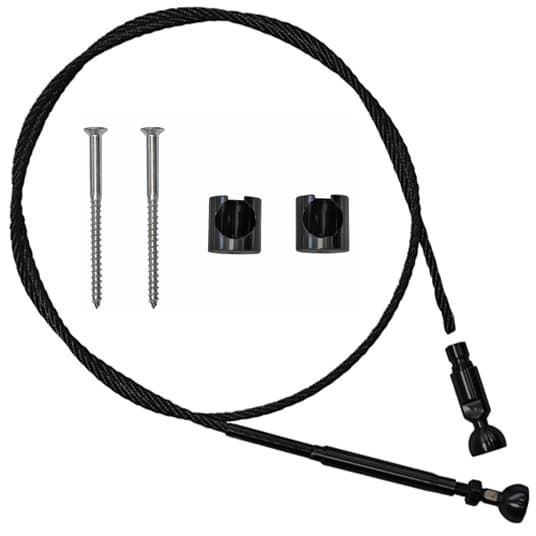
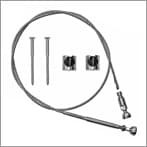
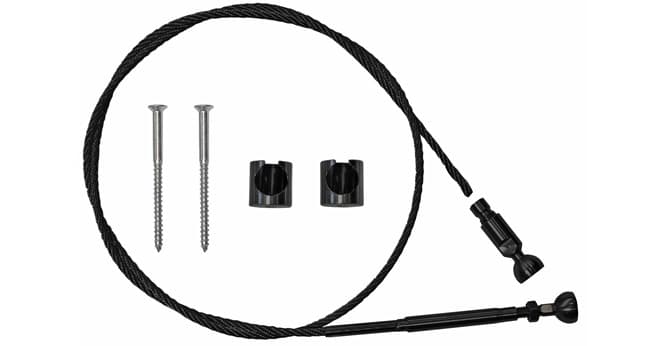
Each kit consists of:
- 4mm diameter 7x7 black stainless steel rope
- Two flat mounting sockets
- One attached ball & one removable threaded ball
- One tensioning adjuster with lock nut
- Supplied complete with all relevant fixings
The Essential Partners
Installation Advice
Before starting the installation of your cable railing system, we strongly recommend consulting with your local building control to ensure compliance with local regulations and safety standards.
To plan your project, it's important to consider the number of posts, wires, and fittings required, taking into account the clearance and position of end and corner post terminations.
In terms of spacing, wire cables should be spaced a maximum of 100mm apart to ensure adequate support and stability. Additionally, vertical posts should be spaced at a maximum of 2 metres apart to create a strong frame that can withstand the loads and stresses placed on it over time.
By following these guidelines and planning your project carefully, you can ensure that your cable railing system is not only safe and compliant but also aesthetically pleasing and functional.

Measure twice, cut once!

It is crucial to be precise when cutting your wire, so it is essential always to double-check before making any cuts. This will help avoid any errors and ensure that you have the correct wire length.
Each cable has an adjustable length range of plus or minus 20mm, which allows for some flexibility in the final wire length. However, it is still crucial to measure accurately to ensure that the correct tension can be applied.

Where can I mount my balustrade sockets?
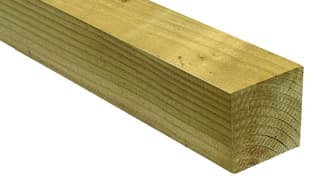
When mounting your balustrade sockets, you have two options: onto timber posts or onto masonry wall surfaces.
If you choose to mount onto timber posts, you will need to use the 70mm countersunk wood screw that is supplied with the system. Make sure to use a drill to create a pilot hole before screwing in the screw.
Note : If you choose to mount onto masonry wall surfaces, you will need to drill a hole and insert a plastic plug before fastening the screw. This will help to provide a more secure hold. In some cases, if the wall is particularly brittle or old, it may be necessary to apply a chemical resin to further strengthen the hold.
Corners and Angles
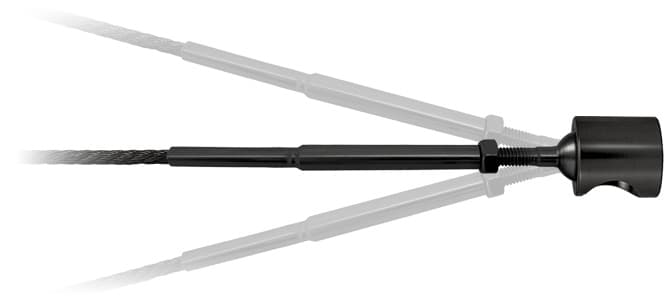
Can cables run up staircases or steps?
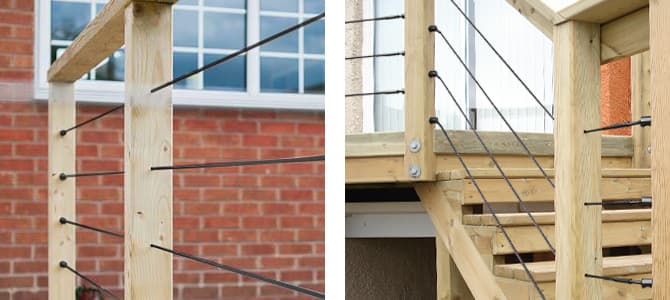
Yes, our cables can run up staircases or steps. The 7x7 wire rope used in our balustrade cable railing system has a natural degree of flexibility, which enables it to navigate shallow angles with ease.
The ball and socket joint is a clever feature that allows for articulation, designed to meet the current building regulations regarding the maximum allowable rake angle of 42 degrees.
Can run the cable railing round corners?
No, it is not recommended to run the cable railing around corners. While it may be tempting to try and create a continuous run of cable around corners, it can be challenging to apply equal tension to the cable, resulting in an unstable and potentially unsafe railing.
Instead, it is best to terminate the wire rope balustrade at each side of a corner post. This ensures that each cable segment is properly tensioned and secured, providing a sturdy and reliable railing system.
Cable lengths?
Our cable railing system allows for cables to be run up to 7.5 metres in length, however, it's important to note that intermediate posts are required to ensure proper tension and stability.
To minimise the number of cables needed, it's recommended to pass the cables through intermediate posts at regular intervals. This not only helps to distribute the load more evenly but also ensures that the cables remain taut and secure over time.
Need Some Help!

**Video Update** Black cables are now designed for runs of up to 7.5 metres.
Video: Wire balustrade kits. Installation guide for the self assembly balustrade wire kits.
Wire balustrade kits. Installation video for the self assembly balustrade wire kits. An ingenious ball and socket cable railing design to allow for inclines, with all wire balustrading components included.
Need some help?Download and print our installation advice sheet for the DIY Surface Mount Balustrade Wire Kit. |
|
DIY Installation Instructions
1. Getting Started
It is always a good idea to plan your design using a pen or chalk to mark out the layout.
Remember to measure and mark out the spacing between the posts and the location of the holes to ensure that the wires are evenly spaced and aligned.
This will save you time and effort in the long run and help to ensure a trouble free installation.
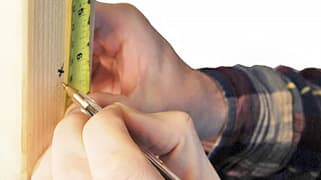
2. Drill Pilot Holes
Timber Mount
For direct installation, we recommend using a 3mm drill bit to create the pilot holes in the hardwood timber.
Masonry Mount
Simply combine with a plastic plug (not included) for a secure fixing, you will need to use a 7mm drill bit to create the pilot hole in the masonry surface before inserting the plug.
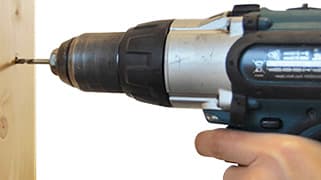
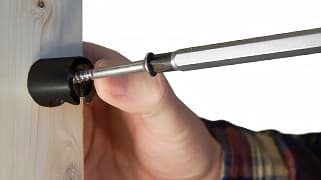
3. Mount Hubs into Position
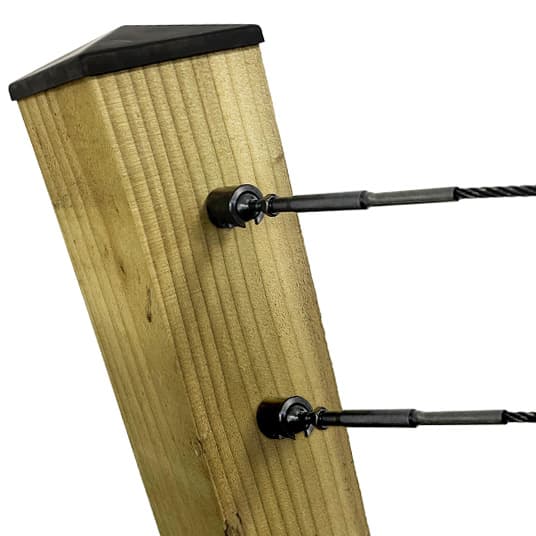
The next step is to mount the hubs into position.
Using a screwdriver, attach the surface mounting hubs to the surface using the stainless steel wood thread screws provided in the kit.
Tip: It is recommended to position the opening of the hubs facing downwards to achieve a neat finish.
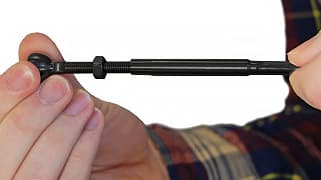
4. Prepare Pre-Fixed Ball End
Starting with the pre-fixed tension ball end, screw out the ball end until approximately 20mm of thread is revealed.
This exposed thread will be used to apply the final wire tension once the balustrade wire is installed.
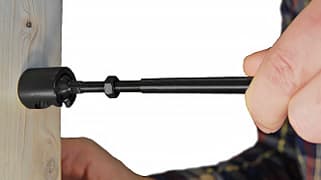
5. Mounting Pre-Fixed Ball End
To mount the pre-fixed ball end, simply insert it into the open mouth of the mounting hub and pull it into position. The ball end should fit snugly into the hub.
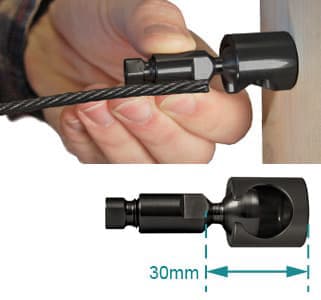
6. Mark Wire for Cutting
After mounting the pre-fixed ball end, pull the cable over to the other fixing post and align it to the spanner flat of the DIY compression fitting. This will ensure that the wire is properly aligned and straight.
Once the wire is in position, mark it with either a pen or chalk to indicate where it needs to be cut
Note: The stand off from the mounting hub is 30mm.
7. Cut Wire
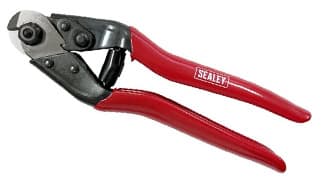
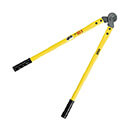
The next step is to cut your wire the required length. We recommend using a set of good quality Wire Rope cutters to ensure a neat and tidy cut.
Remember - to measure twice and cut once. An accurate cut will ensure a perfect fit into the DIY compression fitting.
Each balustrade cable will have an adjustment of plus or minus 20mm. This means that you can adjust the wire length slightly if needed during the tensioning process.
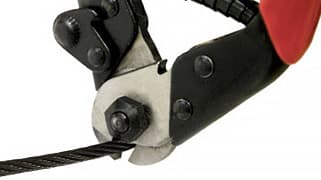
8. DIY Compression Fitting
Great! You are now ready to attach the DIY compression fitting to the wire.
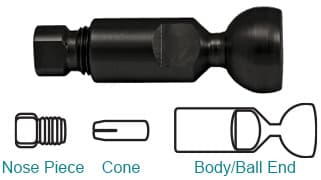
To begin, take apart the DIY compression fitting into its three separate parts: the Nose Piece, the Compression Cone, and the Ball End. This will make it easier to slide the wire into the fitting and assemble it correctly.
Be sure to keep the parts of the fitting organised and within reach, as you will need to reassemble them once the wire is inserted.
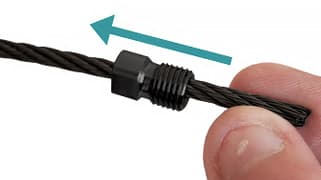
9. Thread Nose Piece onto Wire
Start by threading the nose piece onto the blank end of your wire rope. Make sure that the thread end of the nose piece is facing towards the end of the wire.
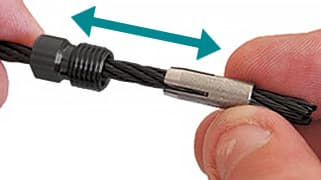
10. Thread Cone onto Wire
The next step is to attach the compression cone onto the wire. Slide the compression cone onto the wire and push it into the nose piece chamber so it sits snug.
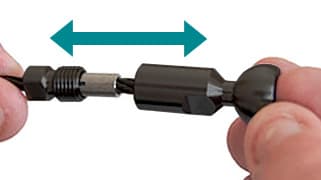
11. Place Ball End onto Wire
Slide the ball end body onto the wire, then bring the three components of the DIY compression fitting together, simply screw in opposite directions to thread them together.
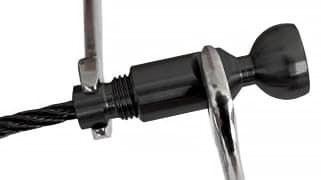
12. Secure Ball End Fitting
To secure the ball end fitting onto the the wire rope, use a pair of 8mm and 9mm spanners to tighten the two sections of the fitting together until wire rope is securely fixed in place.
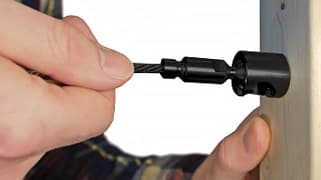
13. Mounting Ball End Fitting
With the ball end fitting now securely attached to the wire, you can insert the DIY ball end into the fixing hole of the hub.
Note: If you find that there is not enough slack in the wire to easily insert the DIY ball end, you can return to the fixed end ball and unscrew it to expand the length of the wire.
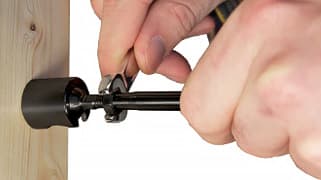
14. Tension Wire
To tension the wire, you will need to return to the pre-fixed ball end and use a 5mm spanner to screw in the thread until you achieve the desired tension.
Once you have achieved the desired tension, lock the nut into place using a 10mm spanner.
It is important to ensure that the wire rope is not allowed to be twisted during tensioning, as this could cause damage to the wire or fitting.

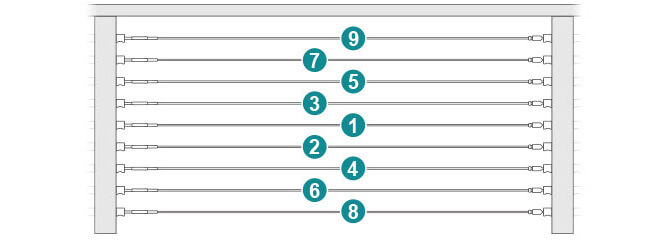
Tensioning Sequence
Recommended method for tensioning balustrade wires. Start from the centre and work outwards, this will help ensure that the tension is distributed evenly across the system, while tightening each wire in slight increments can help prevent uneven tension and ensure a secure finish.
It's important to remember not to fully tighten individual wires at first, as this can create uneven tension. Instead, tightening each wire just enough to hold it in place while you work on the others can help ensure that the tension is gradually increased in a controlled manner.
Taking the time to properly tension your balustrade wires can help ensure a safe and sturdy system that will last for years to come.
You may be interested in...


