Wire Balustrade Kits | Surface Mount
Stainless Steel DIY Wire Balustrade Kits
Self Assembly Individual Wire Balustrade Kits, Flat Mount
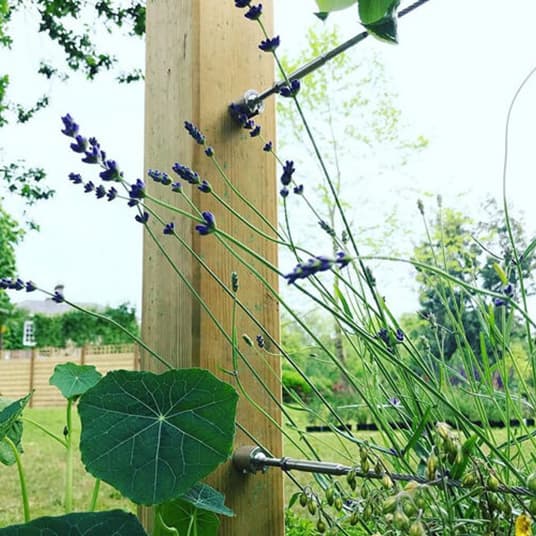
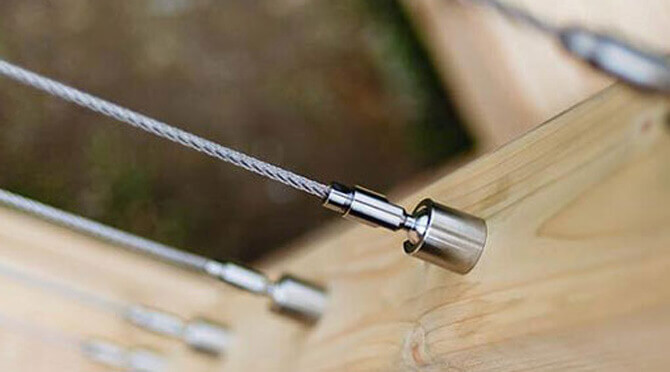
Flat surface mounting balustrade wire and fixings kit. Ingenious ball and socket design to allow for inclines, with all components produced from 316 marine grade stainless steel.
Priced as individual wire assemblies, our UK made balustrade wire kits usually delivered 48 hours from order.
Each kit will make one single wire only; and are not designed to make multiple lengths out of one kit.


Wire Balustrade Kit - Surface Mount
| Options | Wire Ø (mm) |
Wire Length (metre) |
Surface Mount Sockets | Wood Thread Screws | Tension Fitting | DIY End Fitting | Code | Price (inc VAT) | Quantity |
|---|---|---|---|---|---|---|---|---|---|
| 1m Wire Balustrade | 4 | 1 | 2 | 2 | 1 | 1 | B4-CL-04-1-A | £37.80 | |
| 2m Wire Balustrade | 4 | 2 | 2 | 2 | 1 | 1 | B4-CL-04-2-A | £39.00 | |
| 3m Wire Balustrade | 4 | 3 | 2 | 2 | 1 | 1 | B4-CL-04-3-A | £40.20 | |
| 5m Wire Balustrade | 4 | 5 | 2 | 2 | 1 | 1 | B4-CL-04-5-A | £43.80 | |
| 7.5m Wire Balustrade | 4 | 7.5 | 2 | 2 | 1 | 1 | B4-CL-04-7-A | £46.50 | |
| 10m Wire Balustrade | 4 | 10 | 2 | 2 | 1 | 1 | B4-CL-04-10-A | £48.60 | |
| 12.5m Wire Balustrade | 4 | 12.5 | 2 | 2 | 1 | 1 | B4-CL-04-12-A | £49.80 |
Tip: To view the product code and full product table on mobile please tilt your device to landscape.
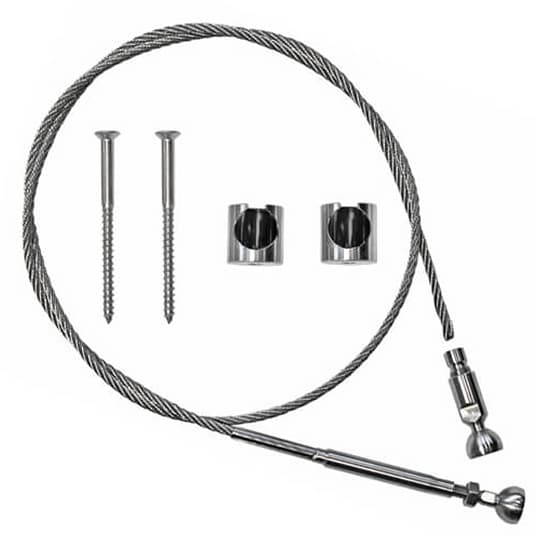
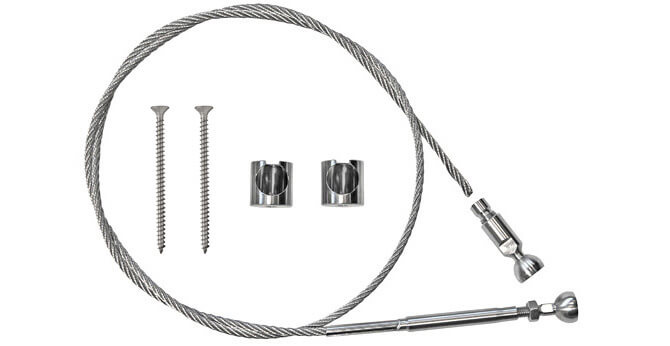
Each assembly consists of:
- 4mm diameter 7x7 stainless steel rope
- Two flat mounting sockets
- One attached ball & one removable threaded ball
- One tensioning adjuster with lock nut
- Supplied complete with all relevant fixings
The Essential Partners
Installation Advice
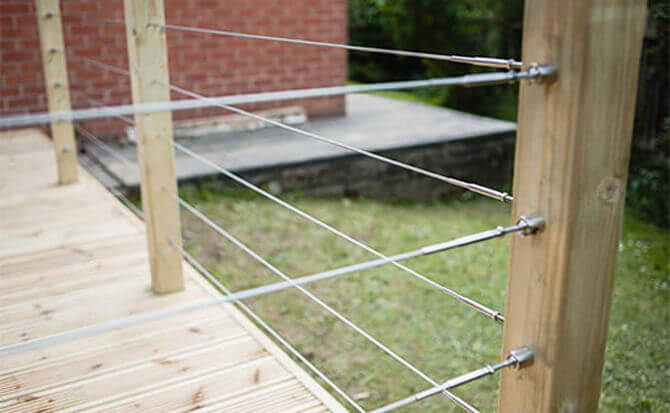
Before installation we would recommend you consult with your local building control.
Plan your project in advance to ensure you have the correct number of posts, wires and fittings remembering to take into consideration end post and corner post termination clearance and position.
Stainless steel wire cables should be spaced a maximum of 100mm apart.
Vertical posts should be spaced at a maximum of 2 metres apart to ensure a strong frame.

Measure twice, cut once!

Please be as accurate as possible when cutting your wire, always double check before cutting.
Each cable has an adjustment of plus or minus 20mm.

Where can I mount my balustrade sockets?
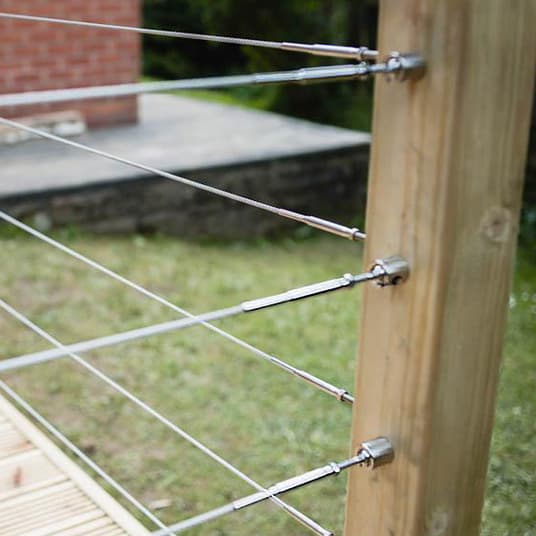
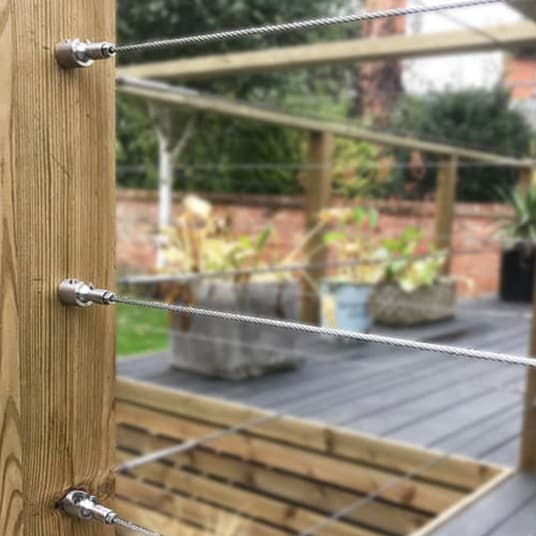
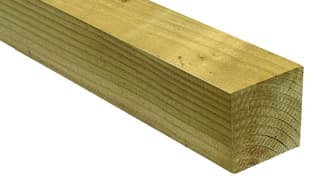
This deck balustrade wire system is suitable for mounting onto either timber posts or masonry wall surfaces using a 70mm countersunk wood screw (supplied).
Note : If mounting onto masonry surfaces please drill a hole and insert a plastic plug before fastening. Sometimes if a wall is particularly brittle or old - a chemical resin may be applied to further strengthen the hold.
Cable lengths?
You can run cables up to 12.5 metres!
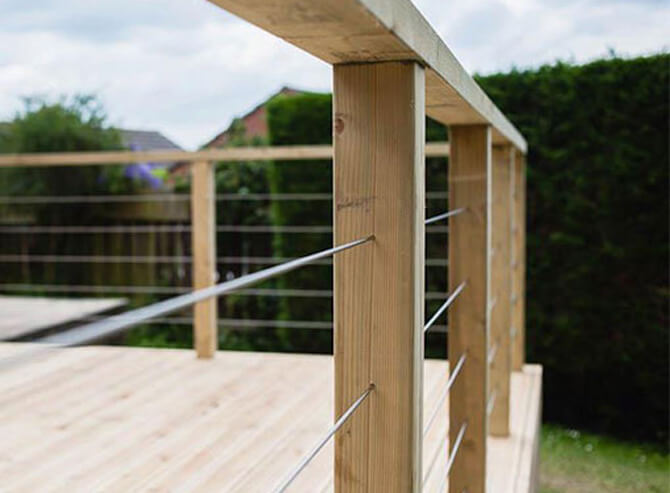
Pass cables through any intermediate posts to minimise the number of cables you'll need!
Need Some Help!

**Video Update** Cables are now designed for runs of up to 12.5 metres.
Video: Wire balustrade kits. Installation guide for the self assembly balustrade wire kits.
Wire balustrade kits. Installation video for the self assembly balustrade wire kits. An ingenious ball and socket cable railing design to allow for inclines, with all wire balustrading components included.
Need some help?Download and print our installation advice sheet for the DIY Surface Mount Balustrade Wire Kit. |
|
DIY Installation Instructions
1. Getting StartedIt is a good idea to layout your design onto the relevant surface with a pen or chalk prior to drilling any holes. |

|
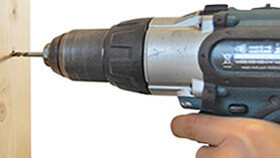
2. Drill Pilot HolesThe stainless steel wood screw allows direct installation into hardwood timber (such as oak) or, if combined with the correct plastic plug, it is attachable to almost any masonry surface (we recommend a 3mm drill piece for direct installation or a 7mm if inserting a plastic plug). |
|
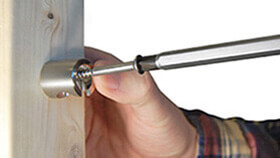
3. Mount Hubs into PositionUsing a screwdriver fix the surface mounting hubs using the stainless steel wood thread screws. |
 |
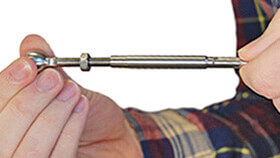
4. Prepare Pre-Fixed Ball EndStarting with the pre-fixed tension ball end, screw out the ball end to reveal approximately 20mm of thread, you will need this to apply your final wire tension once installed. |
|
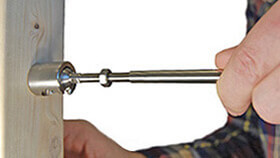
5. Mounting Pre-Fixed Ball EndPlace the pre-fixed tension ball end into the mounting hub. |
|
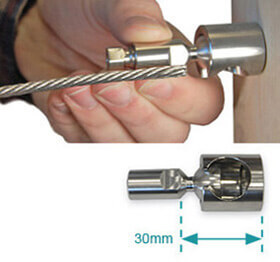
6. Mark Wire for CuttingPull the cable over to the other fixing post and align to the spanner flat of the DIY compression fitting. Mark your wire ready for cutting with either a pen or chalk. Note: The stand off from the mounting hub is 30mm. |
|
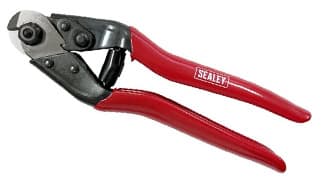
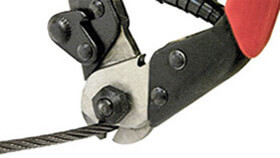
7. Cut WireCut your wire to required length, we recommend using a set of good wire rope cutters to give you a neat and tidy cut. Remember - measure twice, cut once! Please be as accurate as possible. Each cable will have an adjustment of plus or minus 20mm. |
|
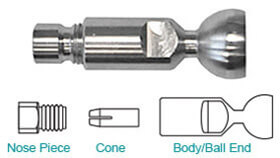
8. DIY Compression FittingYou are now ready to attach the DIY end fitting. The first step is to take apart your DIY compression fitting. |
|
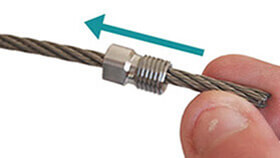
9. Thread Nose Piece onto WireTaking the blank cable end place the nose piece over the stainless steel wire rope (ensuring the thread end is towards the end of your wire). |
|
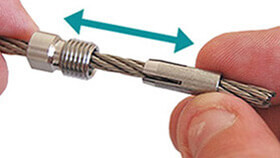
10. Thread Cone onto WireThread the cone onto the wire and push into the threaded cone chamber. |
|
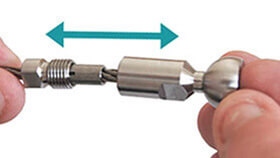
11. Place Ball End onto WireTake the stainless steel body and push onto the wire, eventually bringing the three component parts together. Turn in opposite directions to thread them together. |
|
12. Secure Ball End FittingUsing a pair of 8mm and 9mm spanners screw the two sections together until tight. |

|
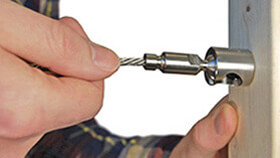
13. Mounting Ball End FittingInsert the DIY ball end into the fixing hole of the hub. Note: if you require more slack in your wire to insert the DIY end simply return to the fixed end ball and unscrew to expand to the required length. |
|
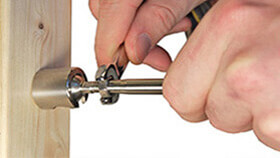
14. Tension WireReturning to the pre-fixed ball end, simply screw in the thread using a 5mm spanner to achieve the desired wire tension. Once you have achieved this lock the nut into place using a 10mm spanner. It is important that the wire rope is not allowed to be twisted. |
|

Tensioning Sequence
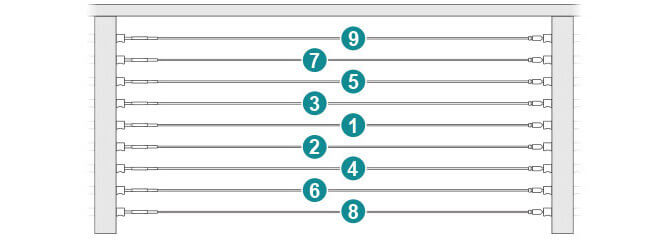
To tension the balustrade wires, we recommend starting from the centre and working out (see example diagram below). Do not fully tighten individual wires as this will create uneven tension throughout your system, just tighten enough to hold in place. Once all your wires are installed, tighten each wire in turn by slight increments to achieve a solid and fully secure finish.

Questions & Answers
Reviews


