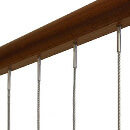
Vertical Wire Balustrade, Wood Mount, Stainless Steel
Made to Measure Vertical Deck Wire in 316 Grade Stainless Steel for Hardwood Timber

Vertical Deck Cable Rail, Timber Mount, Ready Assembled
| Options | Wire (mm) |
Thread Length (mm) |
Code | Price (inc VAT) (Length: 1 metre) |
|---|---|---|---|---|
| Vertical Cable | 4 | 21 | V1-WM-04 | £11.64 |
Tip: To view the product code and full product table on mobile please tilt your device to landscape.
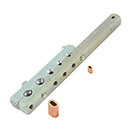
Each cable is supplied to your specific dimensions and consists of:
- 4mm diameter stainless steel rope.
- Two attached stainless steel woodscrew thread fittings.
- One end with left hand thread, the other end with right hand thread.
 |
Handmade To OrderPlease allow 3 to 5 working days from order for manufacture and delivery. |

Measuring
How to measure your vertical balustrade cable rail:

To order, enter the required length of deck railing cable assemblies at Step 2. Measure the distance between the underside face of the handrail and the timber floor surface in millimetres.
Remember - measure twice, cut once! Please be as accurate as possible.
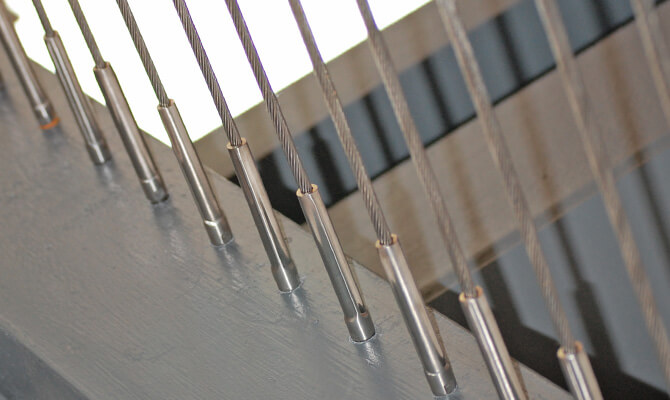
Mounting Vertical Stainless Steel Wire Railing
This product is supplied with a wood screw thread and therefore is ideal for vertical deck railing.
Suitable for installation on hardwood timber (such as oak).
It must have timber top and bottom to screw into. Therefore it is not suitable for installations without some form of top member, usually a handrail.
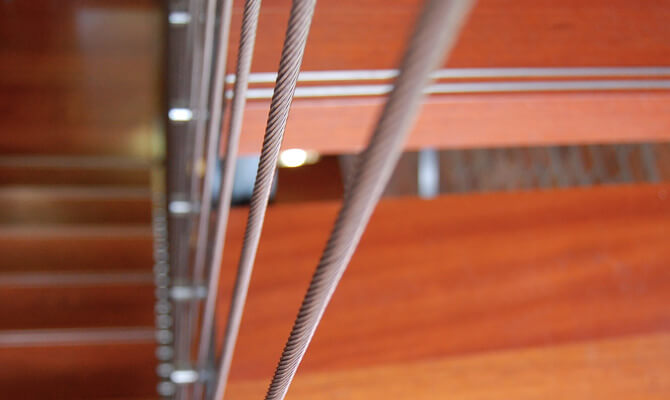
Because the wire is supplied with a right hand thread one end, and a left hand thread at the other, you are able to sequentially screw each side into the surfaces without twisting the wire.
A pilot hole is recommended prior to final fix to aid ease of installation.
Questions & Answers
Reviews